ActiveMQ使用
ActiveMQ 是一个apache提供的一个消息队列服务,为我们在生产中提供了一个很好的服务器,我们不需要使用Java BloingQueue,使用这个服务就能很好的应对各种生产场景。
下载
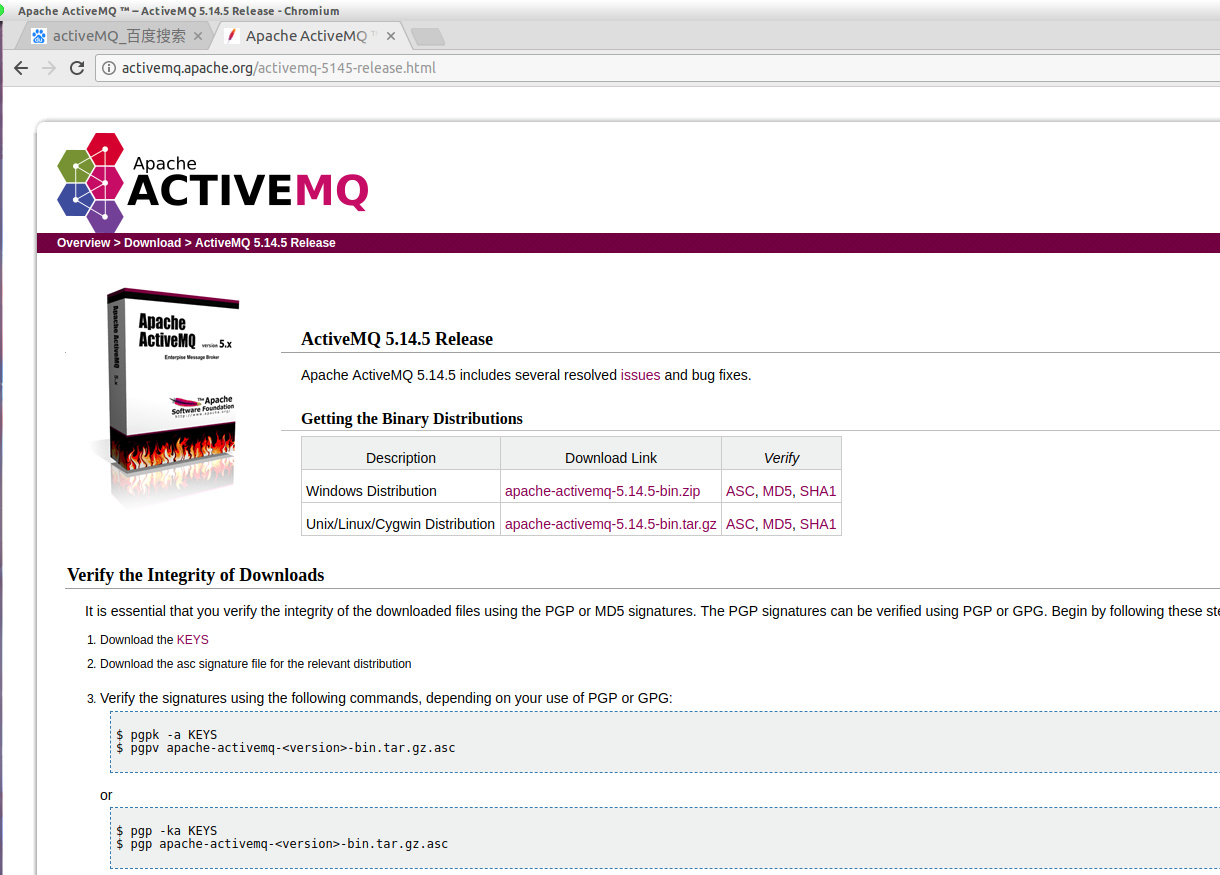
我们需要到apache官网上下载ActiveMQ,官网地址http://activemq.apache.org/activemq-5145-release.html,我这边是ubuntu操作系统,下载尾缀是tar.gz,如果是windows下载zip
配置activemq.xml
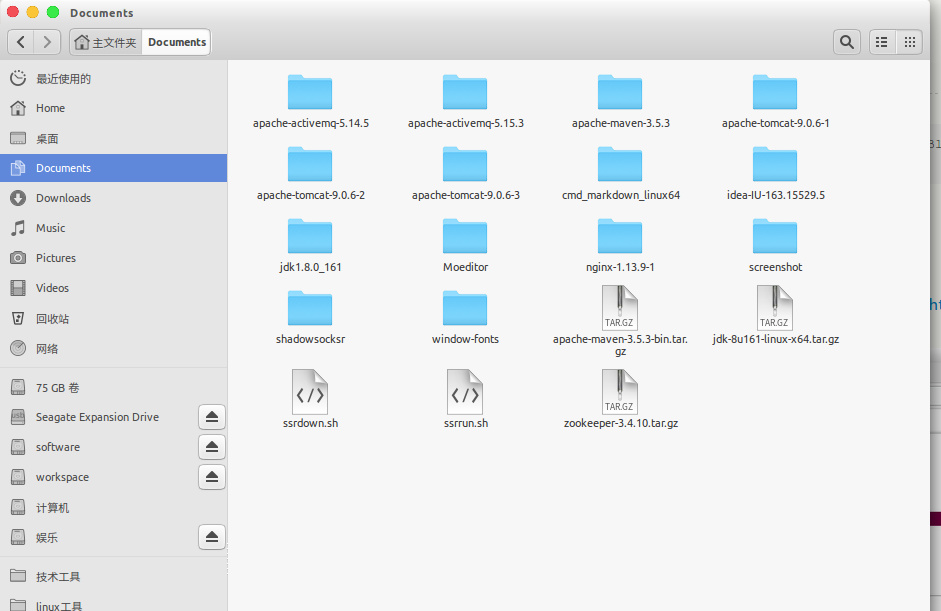
解压下好的软件
进入apache-activemq-5.14.5/conf找到activemq.xml,将其中的0.0.0.0修改成127.0.0.1

1 | |
启动
进入到apache-activemq-5.14.5/bin 目录下执行命令
$ ./activemq start
打印下列语句就是开启成功了

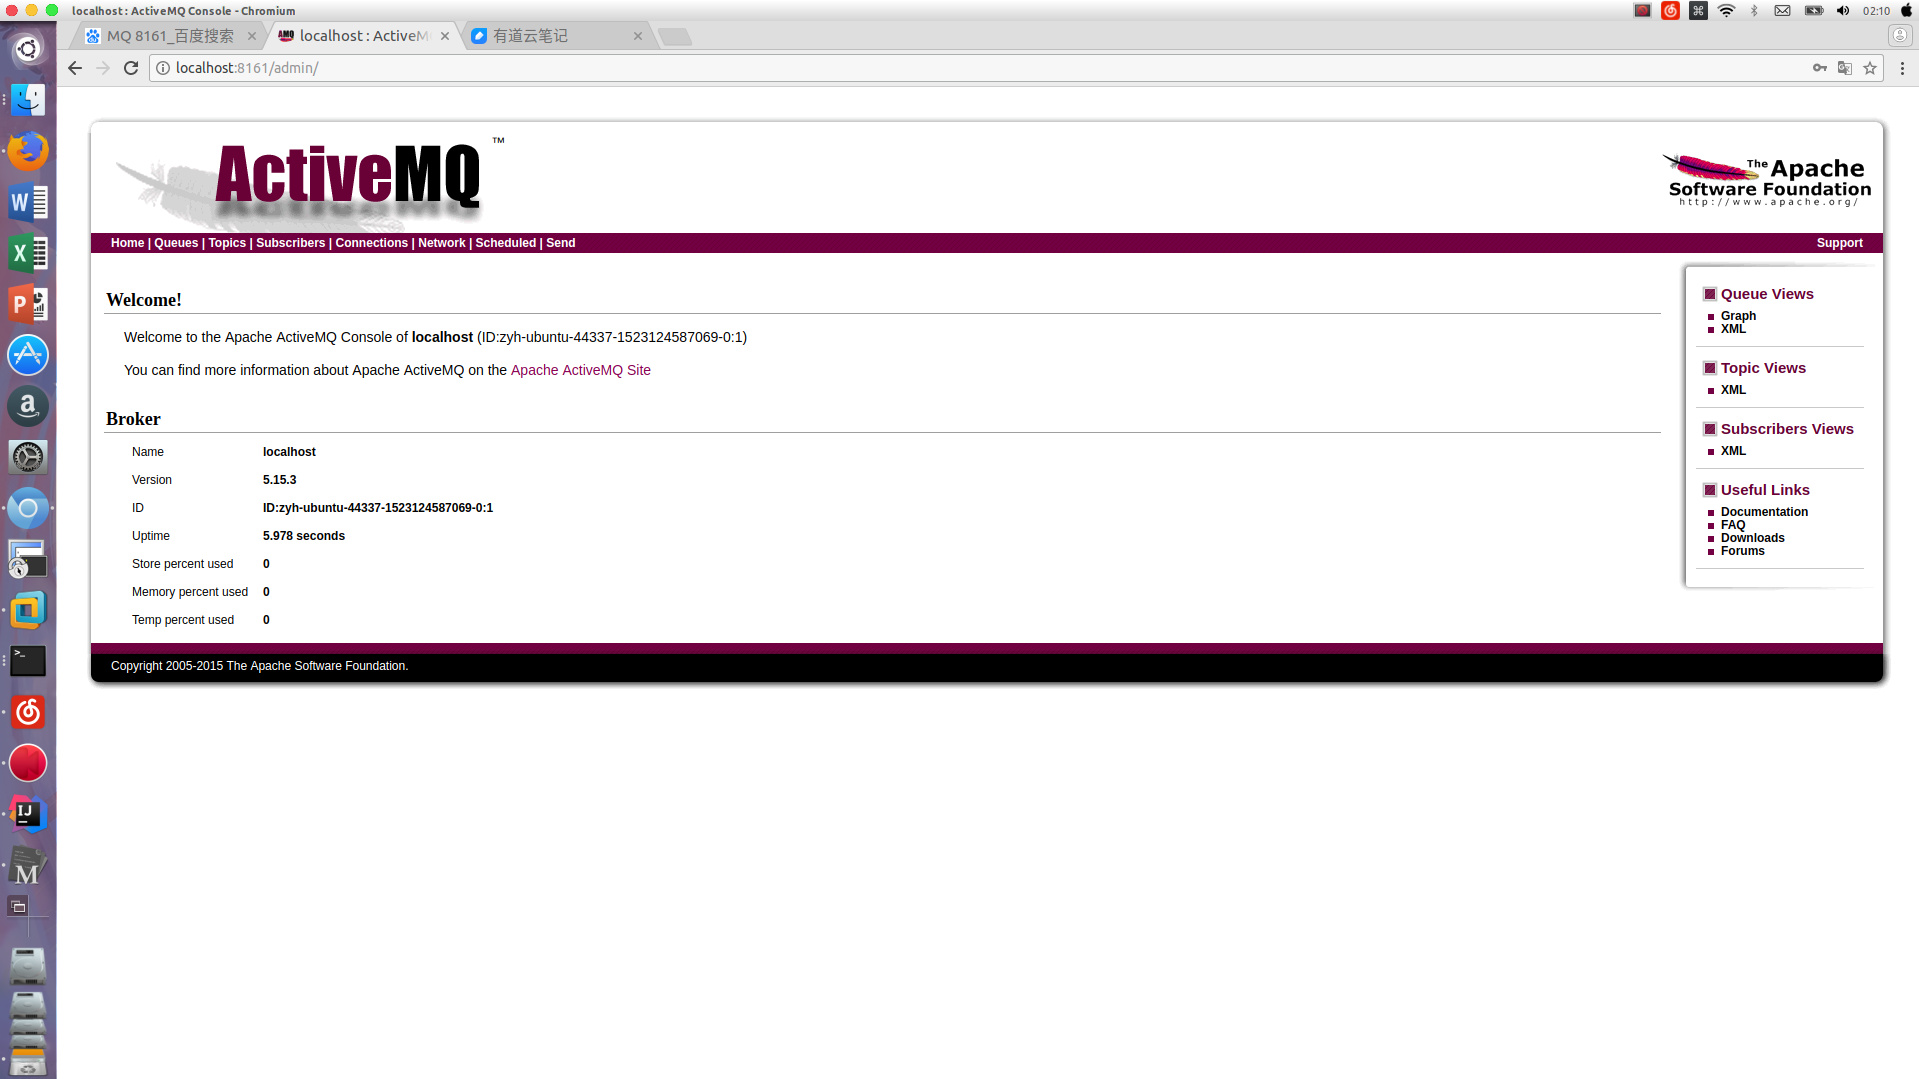
访问localhost:8161/admin。
简单的Demo
既然队列跑起来了,我们编写一个简单的Java程序往队列里面放几个东西,玩玩…写一个生产者和消费者的小例子.
- Sender.java
1
2
3
4
5
6
7
8
9
10
11
12
13
14
15
16
17
18
19
20
21
22
23
24
25
26
27
28
29
30
31
32
33
34
35
36
37
38
39
40
41package com.bim.activemq;
import org.apache.activemq.ActiveMQConnection;
import org.apache.activemq.ActiveMQConnectionFactory;
import javax.jms.*;
public class Sender {
private static ConnectionFactory factory;
private static Connection connection;
private static Session session;
private static Destination destination;
private static MessageProducer producer;
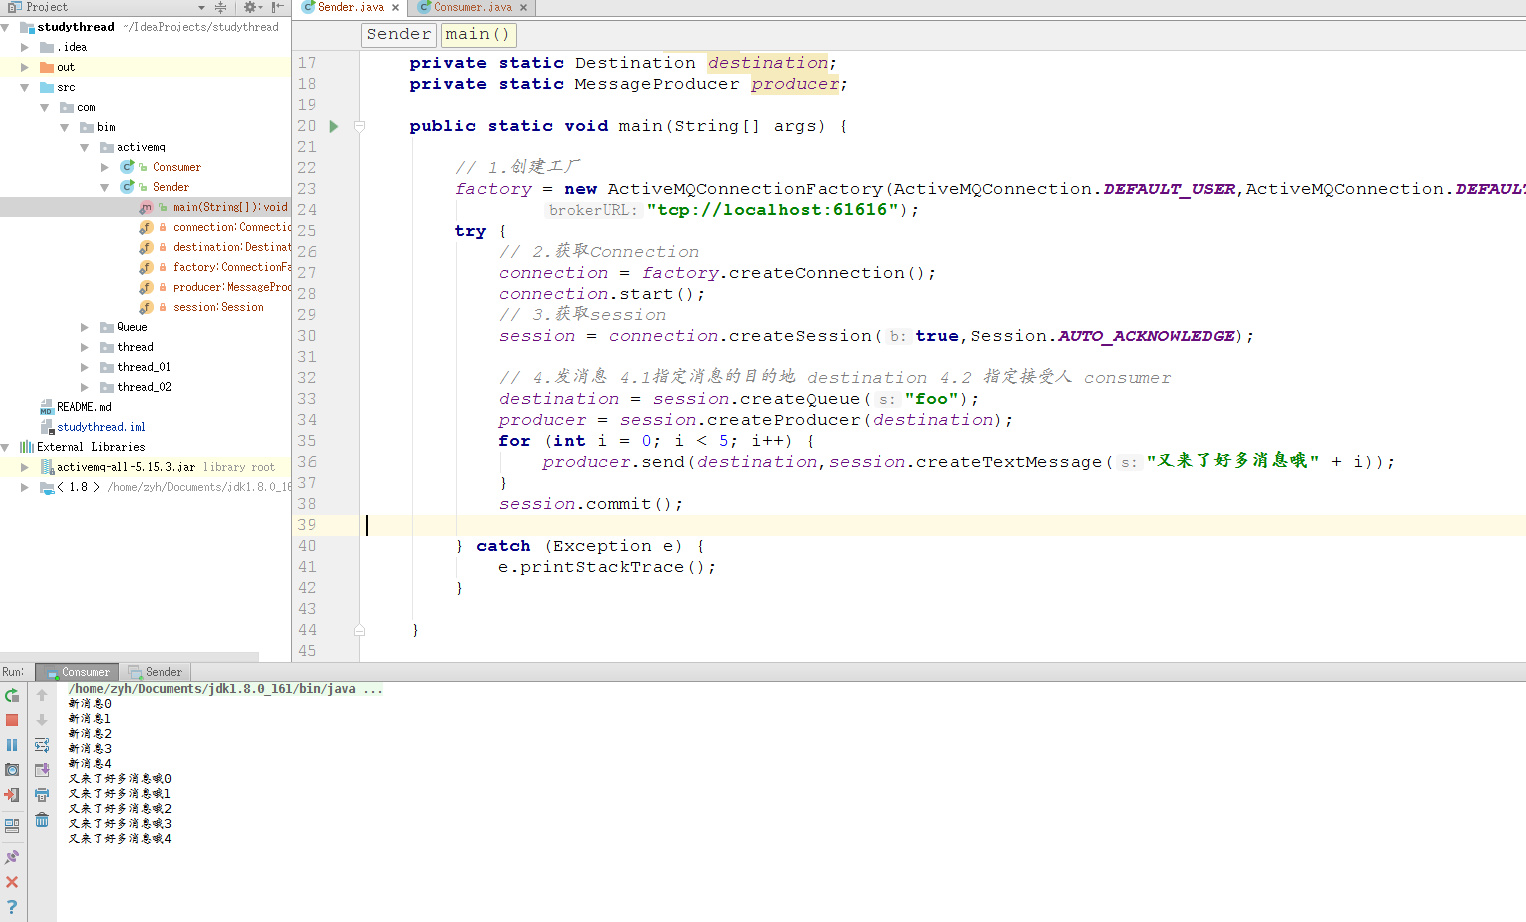
public static void main(String[] args) {
// 1.创建工厂
factory = new ActiveMQConnectionFactory(ActiveMQConnection.DEFAULT_USER,ActiveMQConnection.DEFAULT_PASSWORD,
"tcp://localhost:61616");
try {
// 2.获取Connection
connection = factory.createConnection();
connection.start();
// 3.获取session
session = connection.createSession(true,Session.AUTO_ACKNOWLEDGE);
// 4.发消息 4.1指定消息的目的地 destination 4.2 指定接受人 consumer
destination = session.createQueue("foo");
producer = session.createProducer(destination);
for (int i = 0; i < 5; i++) {
producer.send(destination,session.createTextMessage("新消息" + i));
}
session.commit();
} catch (Exception e) {
e.printStackTrace();
}
}
}
这个是生产者,往队列中存值,这边我们为队列里面存放了5条消息,分别存于foo节点下.,我们在运行它之前先查看一下队列的样子。
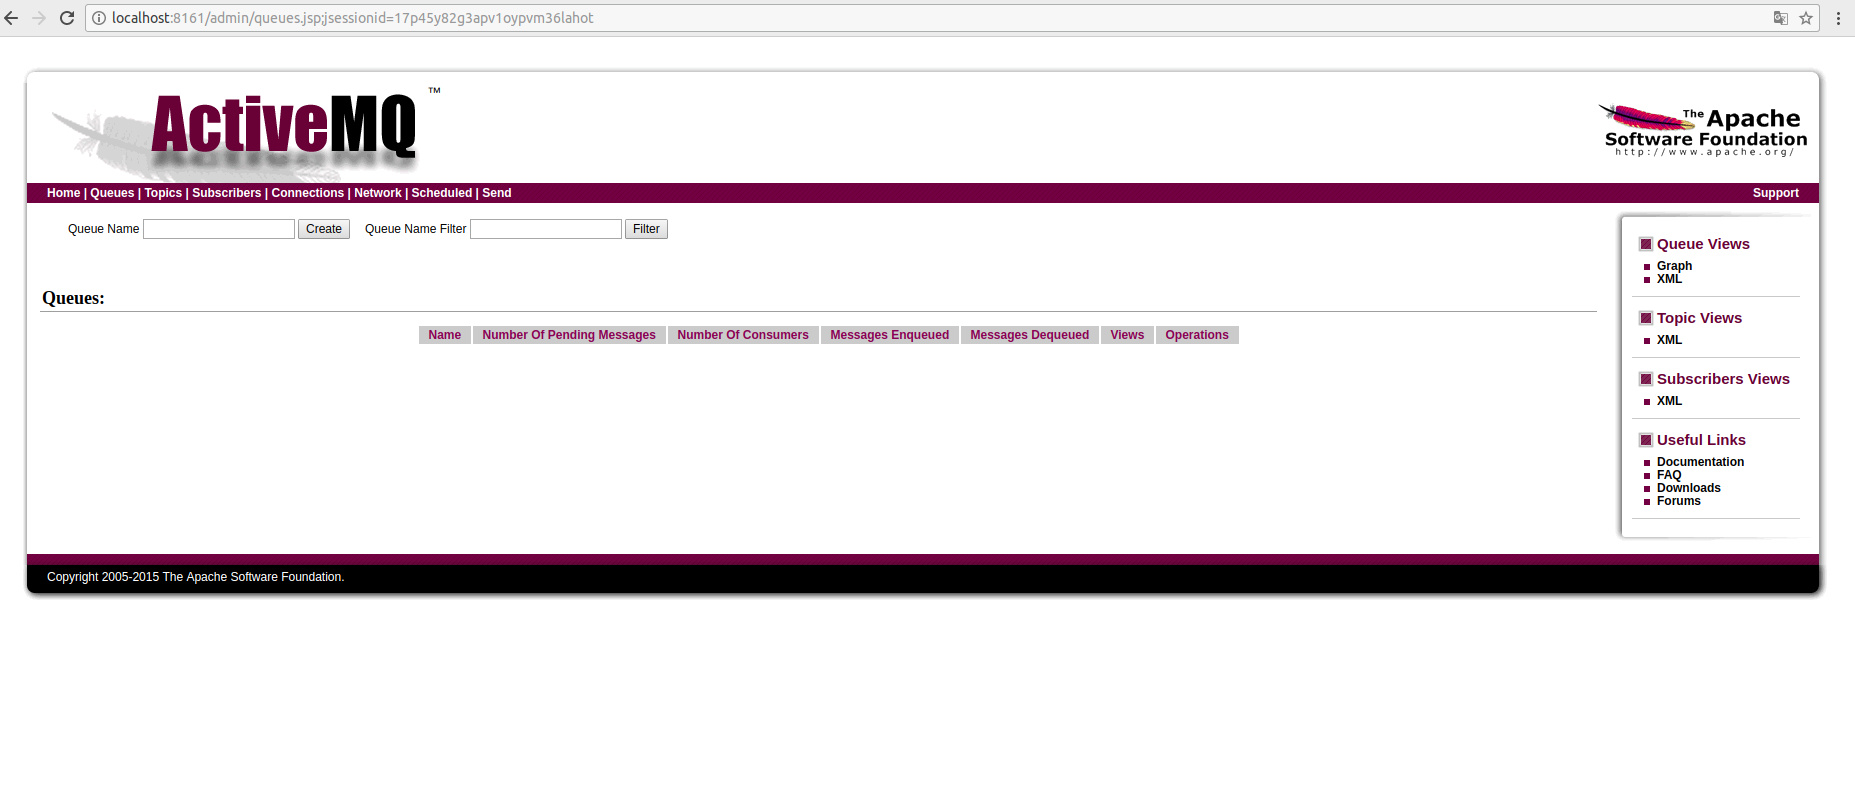
Queues中是空的什么都没有,我们运行代码,往队列中存入值
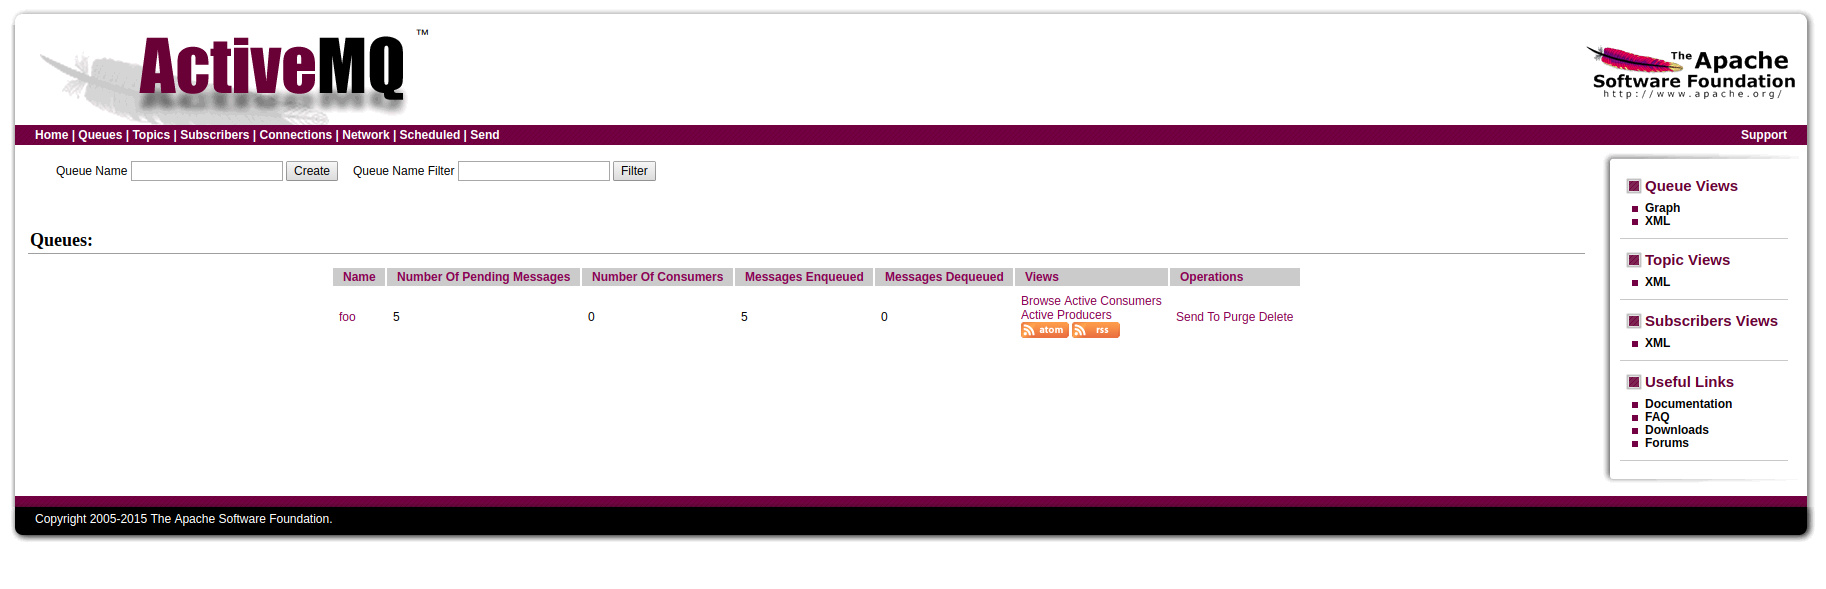
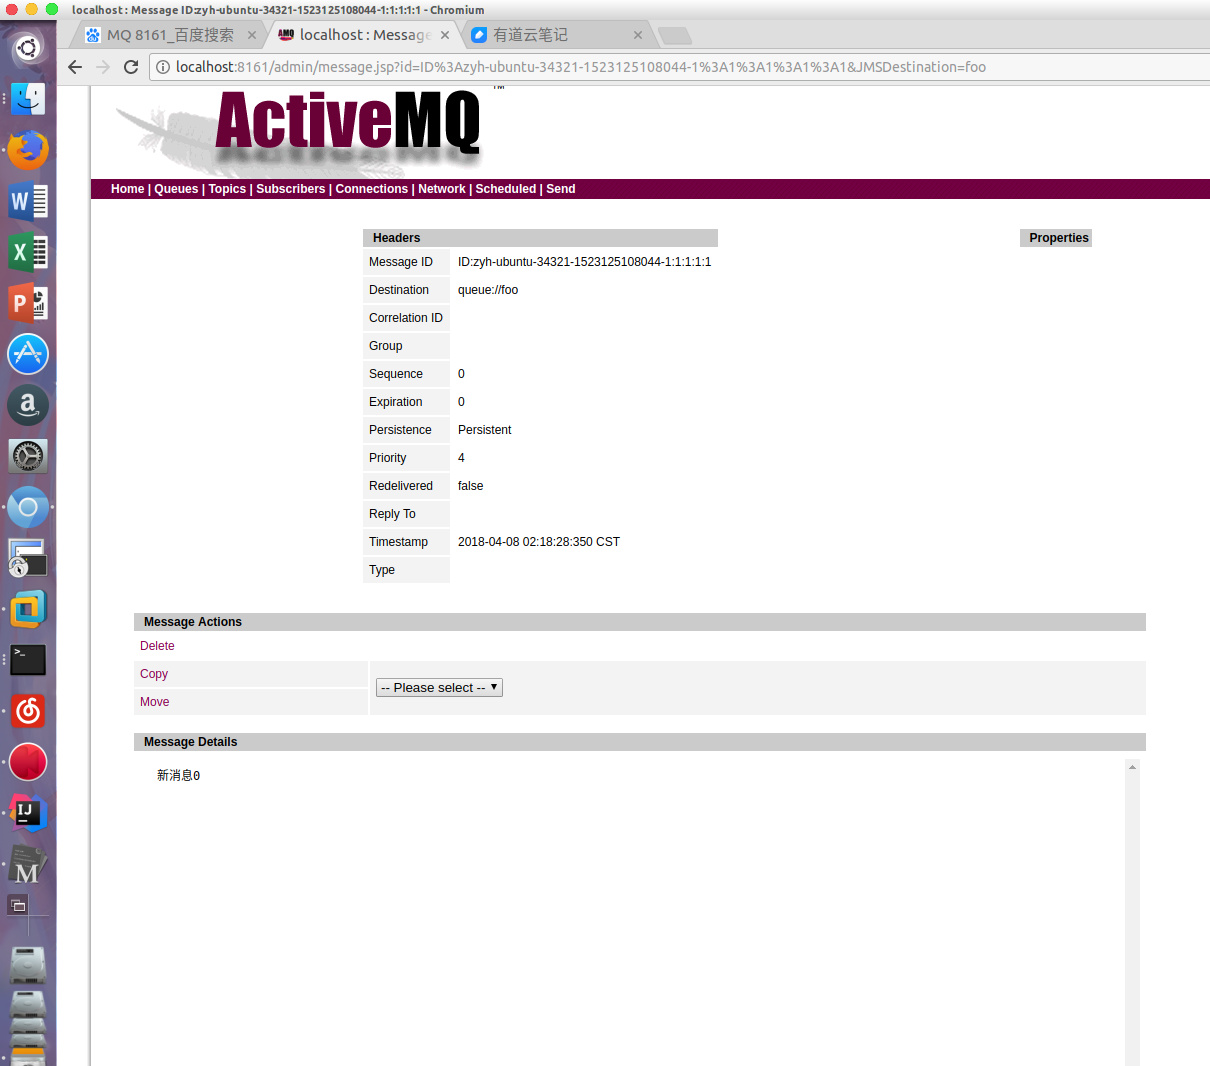
我们可以点进去查看详情
- Consumer.java
1
2
3
4
5
6
7
8
9
10
11
12
13
14
15
16
17
18
19
20
21
22
23
24
25
26
27
28
29
30
31
32
33
34
package com.bim.activemq;
import org.apache.activemq.ActiveMQConnection;
import org.apache.activemq.ActiveMQConnectionFactory;
import javax.jms.*;
public class Consumer {
public static void main(String[] args) {
// 1.创建工厂
ConnectionFactory factory = new ActiveMQConnectionFactory(ActiveMQConnection.DEFAULT_USER, ActiveMQConnection.DEFAULT_PASSWORD,
"tcp://127.0.0.1:61616");
try {
// 2. 创建链接
Connection connection = factory.createConnection();
connection.start();
// 3.创建session 参数详解https://www.cnblogs.com/MIC2016/p/6086321.html
Session session = connection.createSession(true,Session.AUTO_ACKNOWLEDGE);
// 4.创建producer生产者发消息
Destination destination = session.createQueue("foo");
MessageConsumer consumer = session.createConsumer(destination);
while(true){
TextMessage message = (TextMessage) consumer.receive();
System.out.println(message.getText());
}
} catch (JMSException e) {
e.printStackTrace();
}
}
}
这个是消费程序,每当队列里面存放一条消息后,该程序就会去队列中取数据了!!!
ActiveMQ使用
http://example.com/2018/04/08/2018-04-08-activemq-ActiveMQ使用/