本机环境:linux下的java开发minecraft游戏插件,用maven编译打jar包。
概述 正式开发之前需要准备上面提到的以外,还需要准备服务端下载链接 和客户端
游戏插件开发好以后,会使用maven打成jar包,放在 服务端的 plugins 目录下即可生效。
环境搭建 大致步骤:
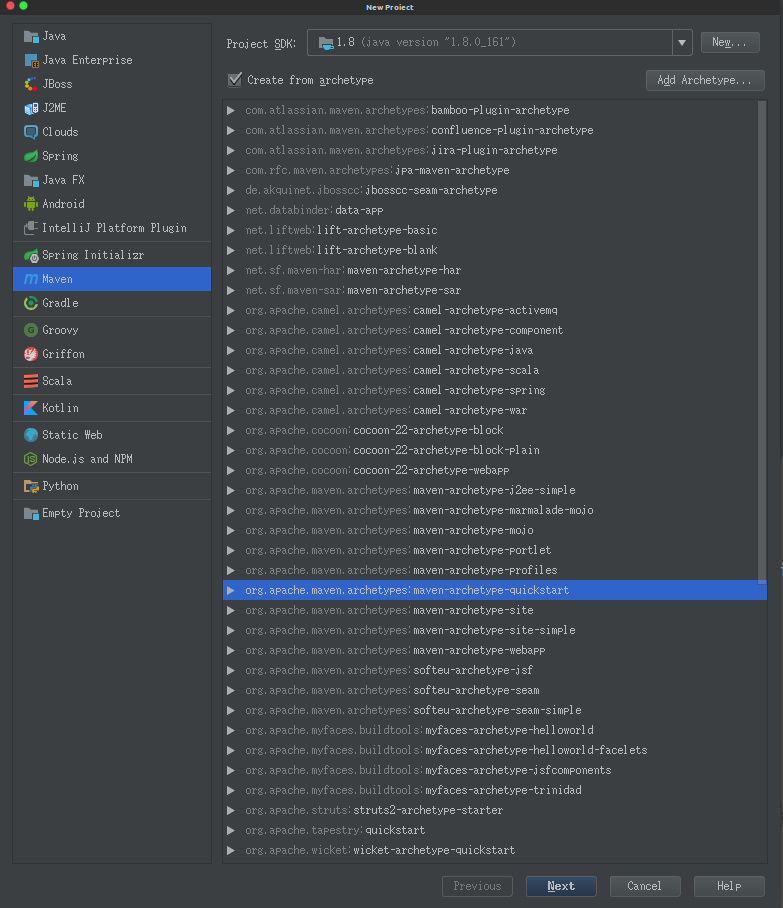
1.创建maven项目
2.修改pom.xml文件
3.下载mincecraft服务器
4.配置mincecraft服务器
5.启动mincraft客户端
6.编写第一个命令插件
7.maven打包
1.创建maven项目
2.修改pom.xml文件 这里用的是Bukkit的服务器,所以需要引入第三方仓库
1 2 3 4 5 6 <repositories > <repository > <id > spigot-repo</id > <url > https://hub.spigotmc.org/nexus/content/repositories/snapshots/</url > </repository > </repositories >
接着引入开发库
1 2 3 4 5 6 7 8 9 10 11 12 13 14 15 16 17 <dependency > <groupId > org.bukkit</groupId > <artifactId > bukkit</artifactId > <version > 1.12.2-R0.1-SNAPSHOT</version > <type > jar</type > <scope > runtime</scope > </dependency > <dependency > <groupId > org.spigotmc</groupId > <artifactId > spigot-api</artifactId > <version > 1.12.2-R0.1-SNAPSHOT</version > <type > jar</type > <scope > provided</scope > </dependency >
使用maven-assembly-plugin插件打jar包
1
2
3
4
5
6
7
8
9
10
11
12
13
14
15
16
17
18
19
20
21
22
<plugin>
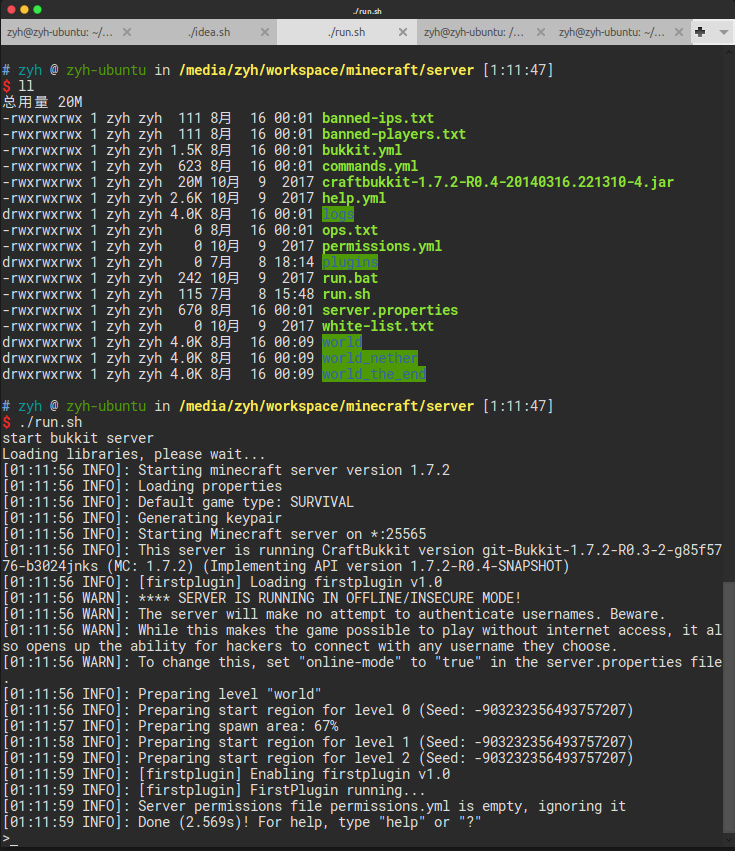
3.下载mincecraft服务器craftbukkit-1.7.2-R0.4-20140316.221310-4.jar https://getbukkit.org/
4.配置服务器 1.编写run.sh脚本,启动服务器
$ touch run.sh
1
2
3
# !/bin/bash
修改run.sh为可执行文件
$ chmod 777 run.sh
运行run.sh脚本
$ ./run.sh
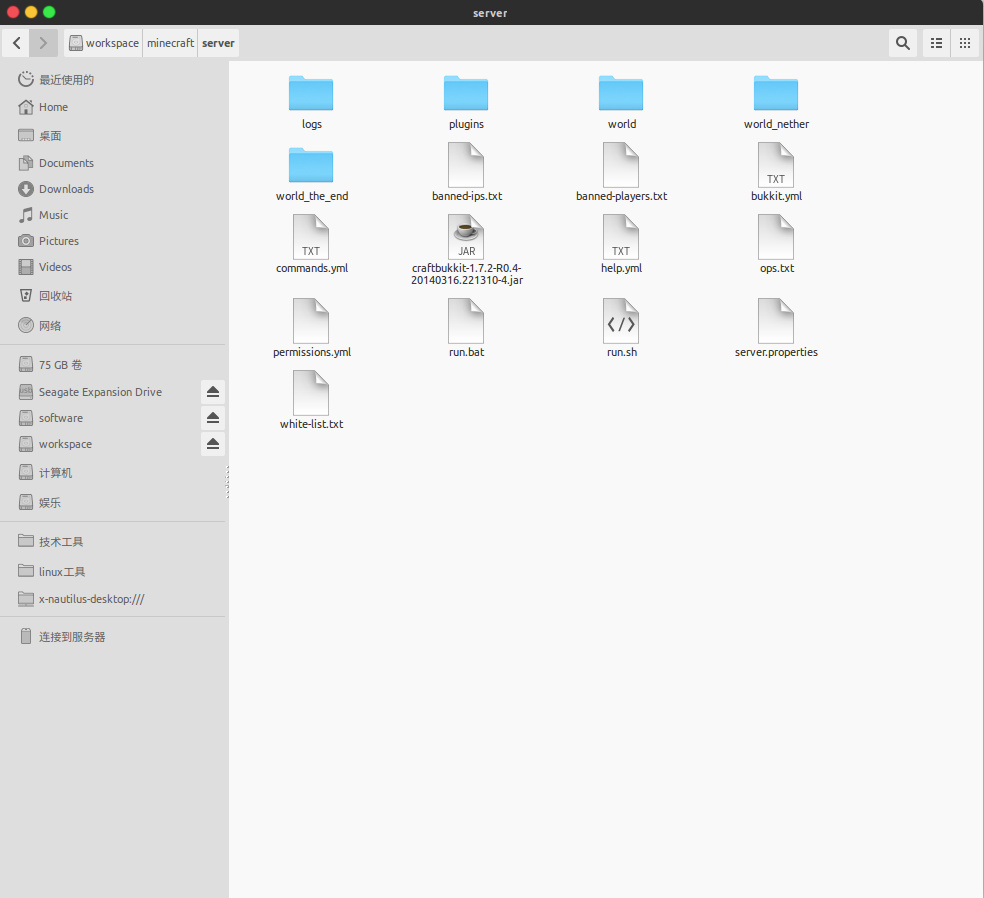
启动以后会发现当前目录会生成很多文件
2.修改服务器参数server.properties
1 2 3 4 5 6 7 8 9 10 11 12 13 14 15 16 17 18 19 20 21 22 23 24 25 26 27 28 29 30 31 32 33 34 35 generator-settings =op-permission-level =4 allow-nether =true online-model =false level-name =world enable-query =false allow-flight =false announce-player-achievements =true server-port =25565 level-type =DEFAULT enable-rcon =false force-gamemode =false level-seed =server-ip =max-build-height =256 spawn-npcs =true white-list =false spawn-animals =true hardcore =false snooper-enabled =true online-mode =false resource-pack =pvp =true difficulty =1 enable-command-block =true gamemode =0 player-idle-timeout =0 max-players =20 spawn-monsters =true generate-structures =true view-distance =10 spawn-protection =16 motd =A Minecraft Server
具体配置可以查看wiki
重新启动服务器使其生效。
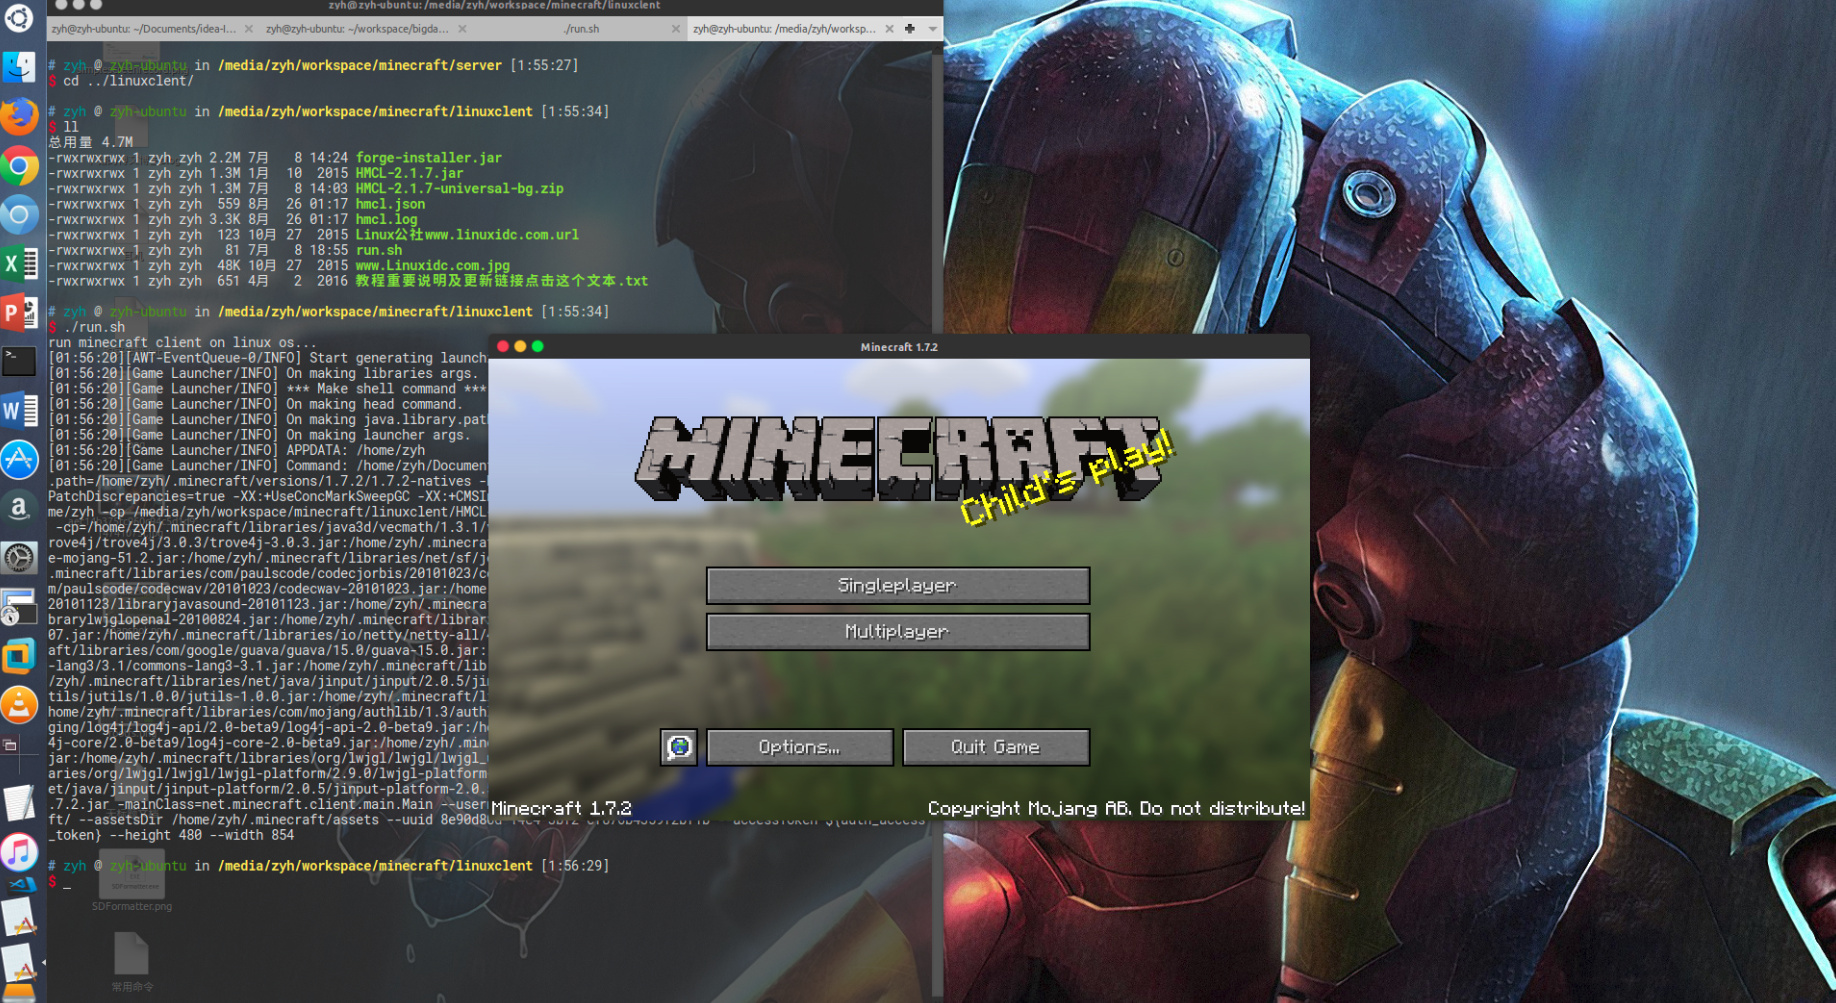
5.启动mincraft客户端 想要启动minecraft客户端,需要提前准备一个启动器。
minecraft启动器和minecraft客户端这篇博客https://www.linuxidc.com/Linux/2016-04/129764.htm有下载链接,不过里面的``minecraft客户端``启动会抛异常,可能是因为是linux的原因,在下载1.7.2的时候某些jar包损坏导致无法正常启动,后续通过排查找到损坏的jar,从新到网上下载完好的jar才得以解决。如果你用的也是linux,可以联系我,为你提供一个完好版本,当然也可以从网上搜一下,很好解决的。
下载好启动器和客户端以后,我们先运行启动器,同服务端一样,编写run.sh 脚本运行minecraft启动器,run.sh内容如下:
1
2
3
4
# !/bin/bash
使用下面命令运行启动器
$ ./run.sh
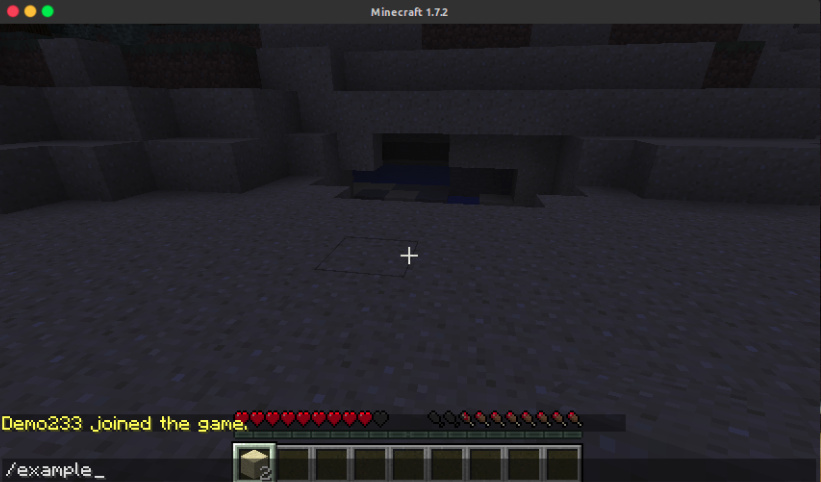
进入游戏,选择Multiplayer开启多人游戏即可
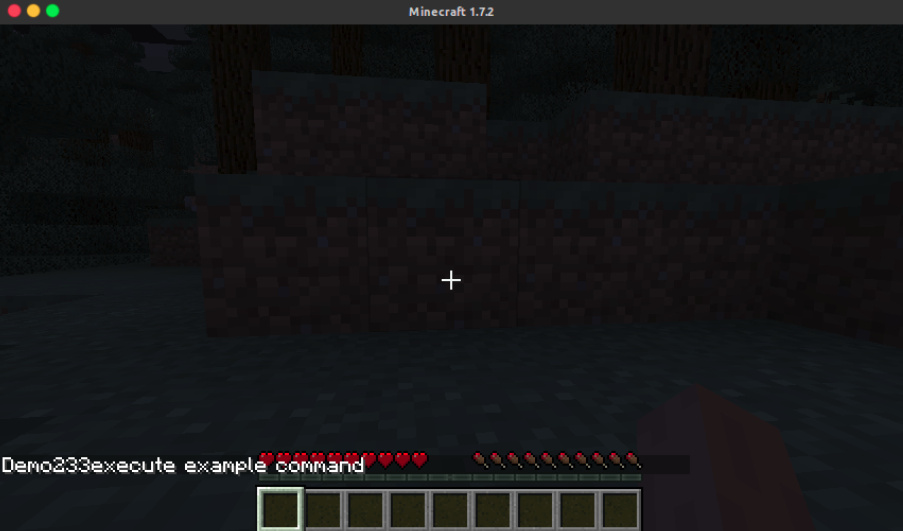
6.编写第一个命令插件 这个命令暂时叫做example,当用户在游戏内输入example时,作出相应提示
当服务器启动以后,会加载放在plugin目录下实现JavaPlugin的类,触发它的onEnable方法
在src/main/java下创建FirstPlugin.java
1
2
3
4
5
6
7
8
9
10
11
12
13
14
15
16
17
18
19
20
21
22
23
24
25
26
package com.zonegood;import org.bukkit.entity.Player;import org.bukkit.plugin.java.JavaPlugin;public final class FirstPlugin extends JavaPlugin {@Override public void onEnable () {this .getLogger().info("FirstPlugin running..." );this .getCommand("example" ).setExecutor(new CommondExample ());@Override public void onDisable () {for (Player player : getServer().getOnlinePlayers()){this .getLogger().info("disable method" + player.getName());
这边对指令类进行封装,指令需要实现CommandExecutor类,实现onCommand方法,当系统检测到有人发送example指令时,onCommand方法就会被触发,当然前提是,它必须已被注册。
在src/main/java/目录下创建CommondExample.java
1
2
3
4
5
6
7
8
9
10
11
12
13
14
15
16
17
18
19
20
21
22
23
24
25
26
package com.zonegood;import org.bukkit.command.Command;import org.bukkit.command.CommandExecutor;import org.bukkit.command.CommandSender;import org.bukkit.entity.Player;public class CommondExample implements CommandExecutor {private static final String commandName = "example" ;@Override public boolean onCommand (CommandSender commandSender, Command command, String s, String[] strings) {if (commandName.equalsIgnoreCase(command.getName())){"execute example command" );return true ;return false ;
在src/resources/目录下创建plugin.yml,在里面我们需要对example指令进行描述
aliases 可以理解为example指令的昵称,在游戏内输入a1,a2 等价于输入example
除此之外里面还有其他参数,详情参考wiki
1
2
3
4
5
6
7
8
9
10
11
12
13
14
15
16
17
18
name: firstplugin version: 1.0 description: This plugin is so 31337 . You can set yourself on fire. author: Zyh authors: [zyh ]website: http://www.zonegood.com main: com.zonegood.FirstPlugin commands: example: description: Set yourself on fire. aliases: [a1 ,a2 ]usage: Syntax error! Simply type /<command> to ignite yourself.
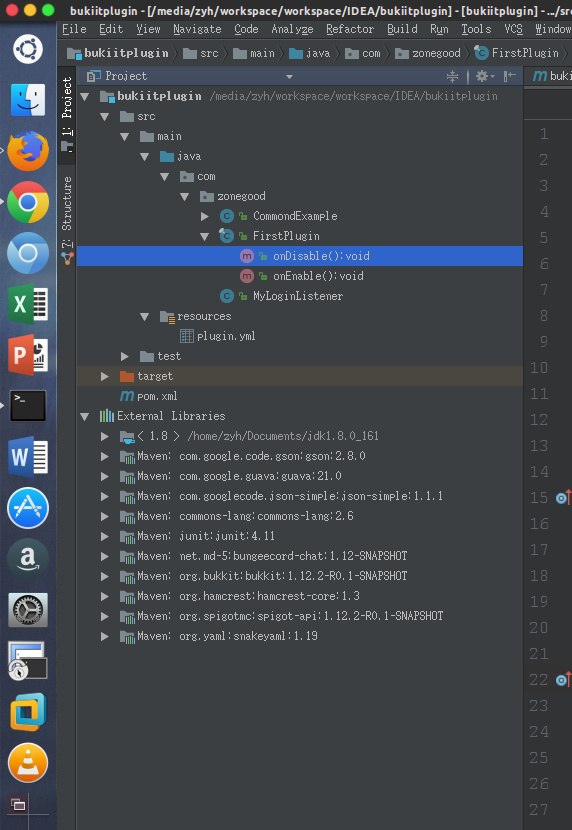
项目的整体目录结构
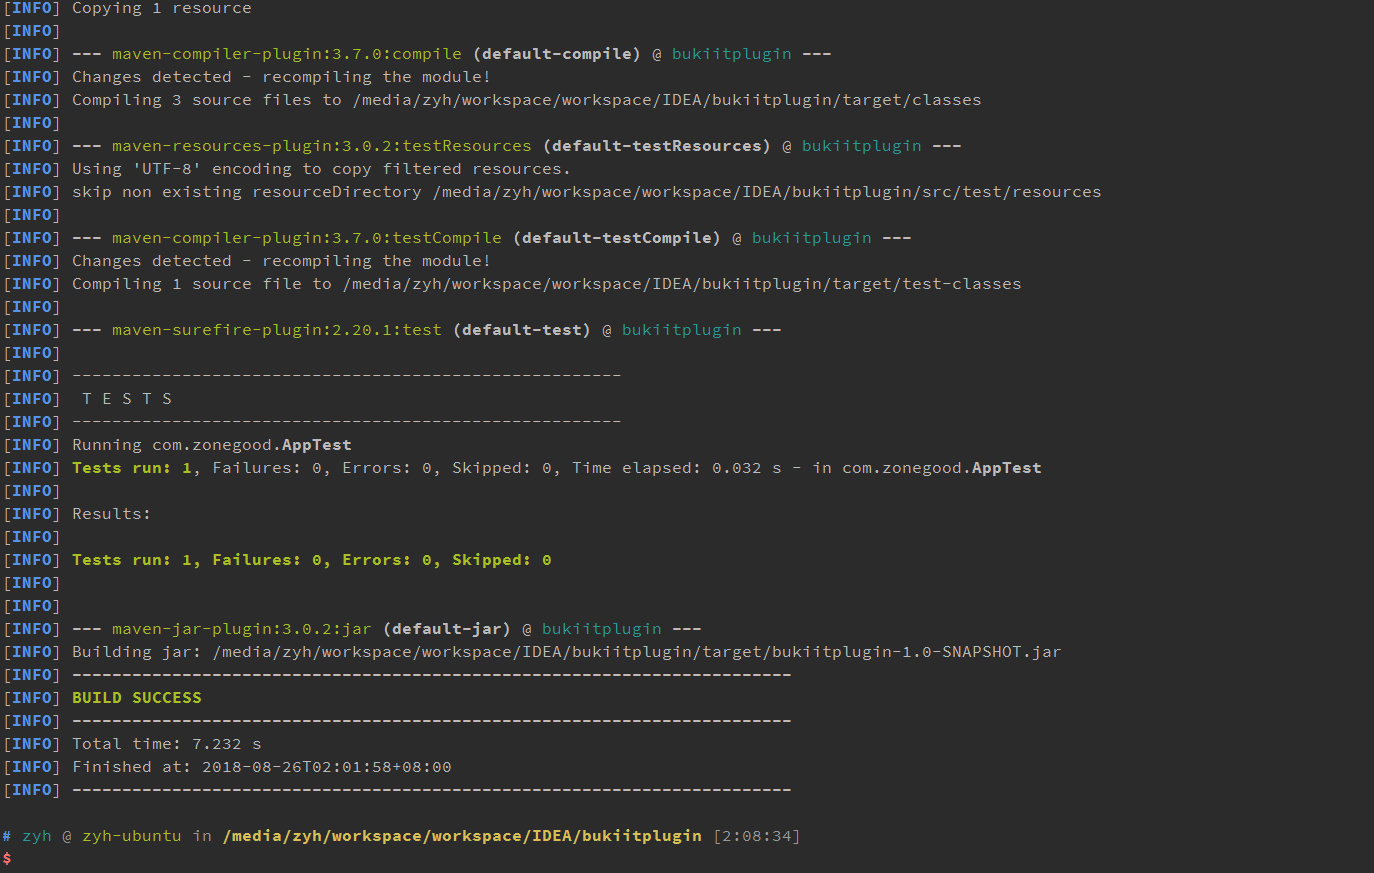
7.maven打包 下面的指令会将编写好的代码编译打包成jar,放在target目录下
$ mvn clean package
可以看到
Building jar: /media/zyh/workspace/workspace/IDEA/bukiitplugin/target/bukiitplugin-1.0-SNAPSHOT.jar
将bukiitplugin-1.0-SNAPSHOT.jar拷贝到server/plugins/目录下重新启动服务器即可
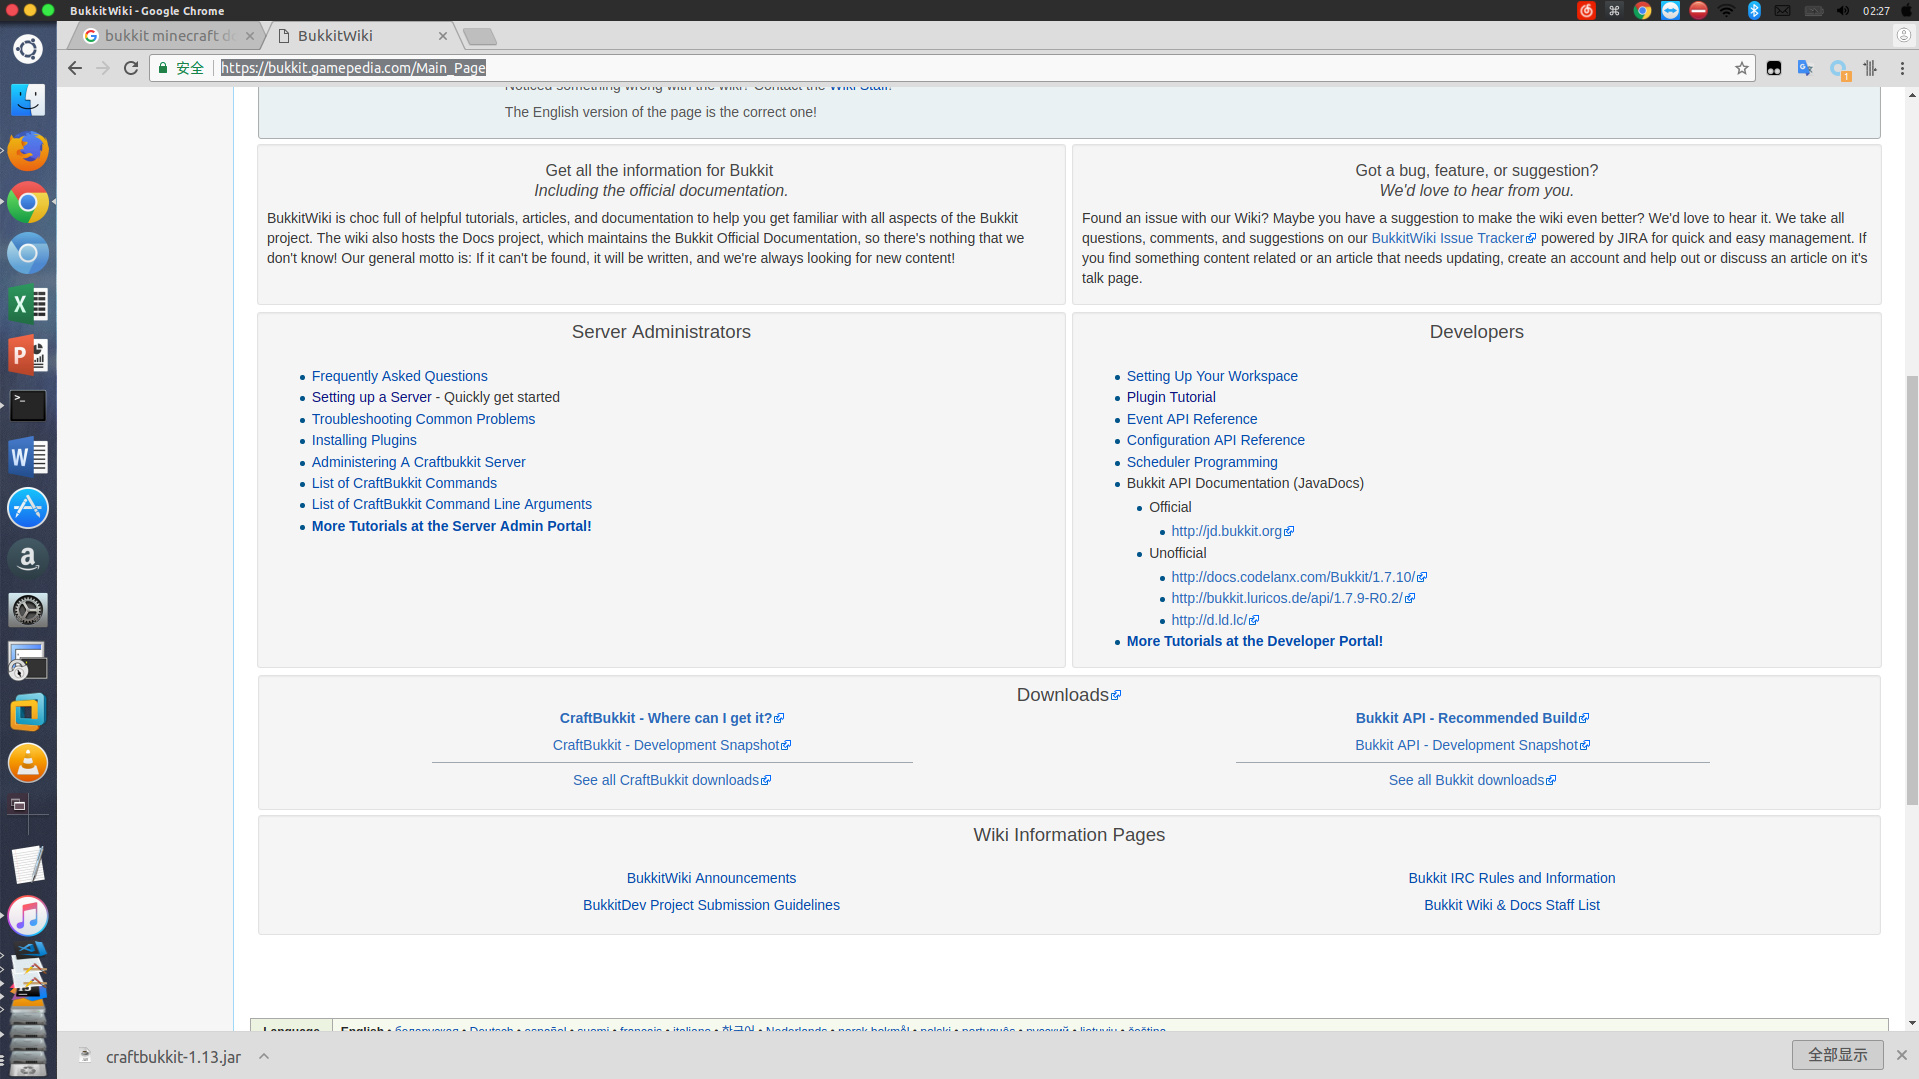
资料 官方开发文档:https://bukkit.gamepedia.com/Main_Page
Developers一栏就是了